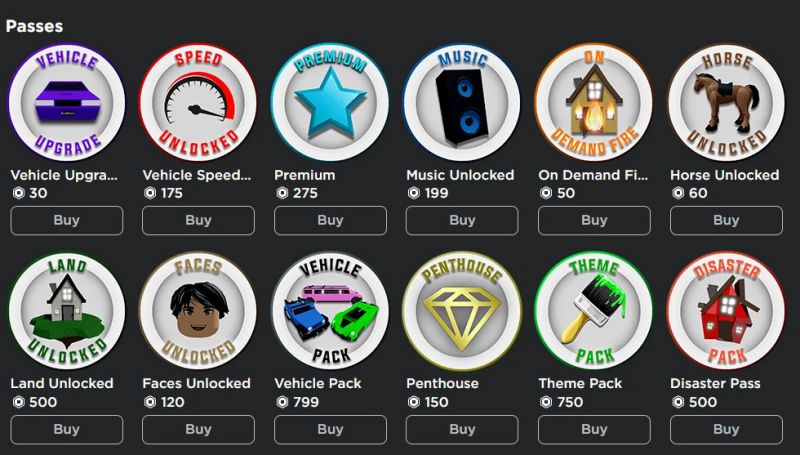
The creators of Roblox can generate unique game passes that can only be bought once by each user using Robux and game passes. They can provide players with permanent power-ups, in-game avatar items, or exclusive access to limited regions of the game.
Since players only need to purchase a game pass once, regardless of how many times they leave and return to a game, they will always have access to this specific effect. The creation of a game pass is open to anybody; however, it is recommended that users have an account on Roblox.com.
How to set up a Gamepass on Roblox using an iOS device such as an iPad or iPhone is the subject of this article. Make sure you stick to the end of the article to figure out how to do it.
Article Contents
How to make a Gamepass on Roblox iPad
A fresh game pass may be generated on Roblox by making use of the website. You can make a game pass there, complete with specifics like a description and a price in Robux.
After you have developed an online game pass, you will have to enter a description that enables players to buy the pass and make use of its features after doing so.
Here’s how to make a Gamepass on Roblox using an iPad:
- Step 1: Go to Chrome or Google or Safari.
- Step 2: Go to www.roblox.com and log in to your account.
- Step 3: Click on the Create option.
- Step 4: Click on the Reader button.
- Step 5: Click on the Request Desktop Website option.
- Step 6: Now, click on the manage my games option.
- Step 7: Find the game passes option from the My Creations tab.
- Step 8: Select the Choose File option next to Find your Image.
- Step 9: Click on Browse and upload any image you want.
- Step 10: Add a name and description to the Gamepass.
- Step 11: Click on Preview.
- Step 12: Now, click on the Verify Upload option.
- Step 13: Your Roblox Gamepass has now been successfully created.
- Step 14: Click on the gear icon and choose Configure.
- Step 15: Click on the Sales button from the Configure page.
- Step 16: Set the price for your Gamepass and click on Save.
How to make a Gamepass on Roblox iPhone
If you own an iPhone, purchasing a Gamepass will allow you to play the most recent and improved versions of games that are hosted on Roblox. The following are some instances of Gamepasses on Roblox, as seen in the picture below:

Listed here are the procedures that need to be taken in order to create a Gamepass on Roblox using an iPhone, in case you were wondering how to do so:
- Step 1: Launch the Safari browser on your iPhone.
- Step 2: Go to the Roblox website.
- Step 3: Log in to your account.
- Step 4: Click on the Reader button
- Step 5: Select the Request Desktop Website option.
- Step 6: Click on the Create option from the top menu.
- Step 7: Click on the Experience Management option if necessary.
- Step 8: Click on Passes from the left-hand side menu.
- Step 9: Click on the Choose File option.
- Step 10: Click on the Browse option
- Step 11: Upload a picture of your choice for your Roblox Gamepass.
- Step 12: Provide a name and description to your Gamepass
- Step 13: Click on Preview and wait till it’s loaded.
- Step 14: Now, select the Verify Upload option.
- Step 15: Your Roblox Gamepass has now been successfully created.
- Step 16: Click on the gear icon near your Gamepass
- Step 17: Click on the Configure option.
- Step 18: Select the Sales button from the Configure page.
- Step 19: Put a price on your Gamepass and click on Save.
Putting together a Gamepass won’t be difficult if you follow these instructions.
Follow us on Twitter & like our Facebook page for more post-updates.

Abhigyan identifies himself as a tech geek, gaming cognoscenti, and also a connoisseur of music. Unidentified and mysterious phenomena never fail to gather his undivided attention. When not reading about bizarre and perplexing entities across the Universe, he can often be found cheering for his favorite teams in Football.